Flagryl's Challenge - 31 May 2024: AS Layering for Newbies
May 30, 2024 22:39:59 GMT -5
Post by Flagryl on May 30, 2024 22:39:59 GMT -5

31 May 2024
Something different this week.
1. Use the attached template as the base for your creation. The fgshapescircleclock.psp file has multiple layers, you can use any of the layers.
Included are 2 circles and 8 hands of a clock, each rotated 45 degrees on separate layers. However, you don't have to use the clock hands. You may add any other image, be sure to credit properly. Have fun!
Please credit the template: Template by Flagryl
2. Create a tag/snag/banner or forum set for yourself or someone else.
3. Animate. Tell us what you did.
4. Challenge Feathers: 250 feathers per tag/set

I've written a tutorial for layering in AS for those new to this process. There are different ways, but this is how I work. First, make sure the Toolbar is showing in AS. View/Toolbar.

I used the large circle and included a center dot on the image for ease of layering the clock hands in AS, copied/pasted into AS (Ctrl c in PSP, then Ctrl V on the workspace in AS.)
For the 8 hands of the clock, I resized the image (all layers) in PSP to fit and SAVED as a new .psp file.
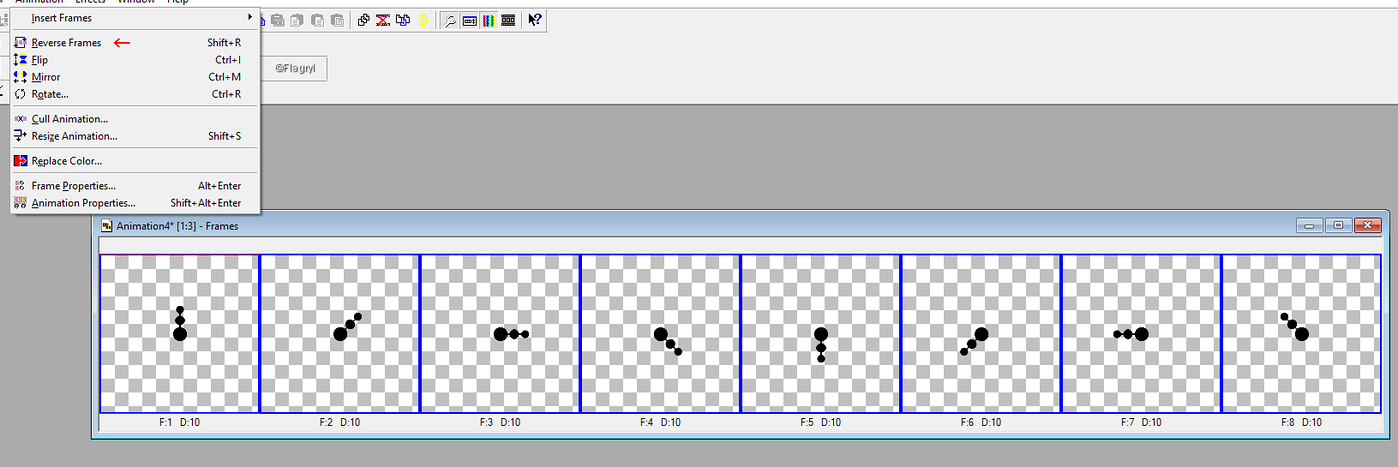
I blocked off the eyes on all other layers except the clock hands on this new .psp file, SAVED it again and then went to AS and opened up that file. Only the layers with eyes showing will show in AS. To get the hands to rotate clockwise, Select All. Animation/Reverse Frames:

Copy each frame once and then "Paste After Current" then go to the next frame and do the same thing, "Paste After Current." Repeat for each of the 8 frames to get 16 frames, 2 of each, (this slows the clock hands). Then Select All [Ctrl a], Copy [Ctrl c] returned to the circle image of 16 frames, Select All [Ctrl a] and "paste into selected frame." This layers your 16-frame clock image onto your 16-frame circle image. I'd save it as an mng now.
Back in PSP, I used a frame for the image, c/p as you did with the circle image directly onto your workspace in AS. Now, Select All (Ctrl a) and Copy (Ctrl c). Go to you saved mng file. Select All, now click the Propagate Paste Icon and Paste Into Selected Frame. This will paste your image onto all the frames in your mng file. Note: You can also use this function to copy a name onto mng tags you've made.

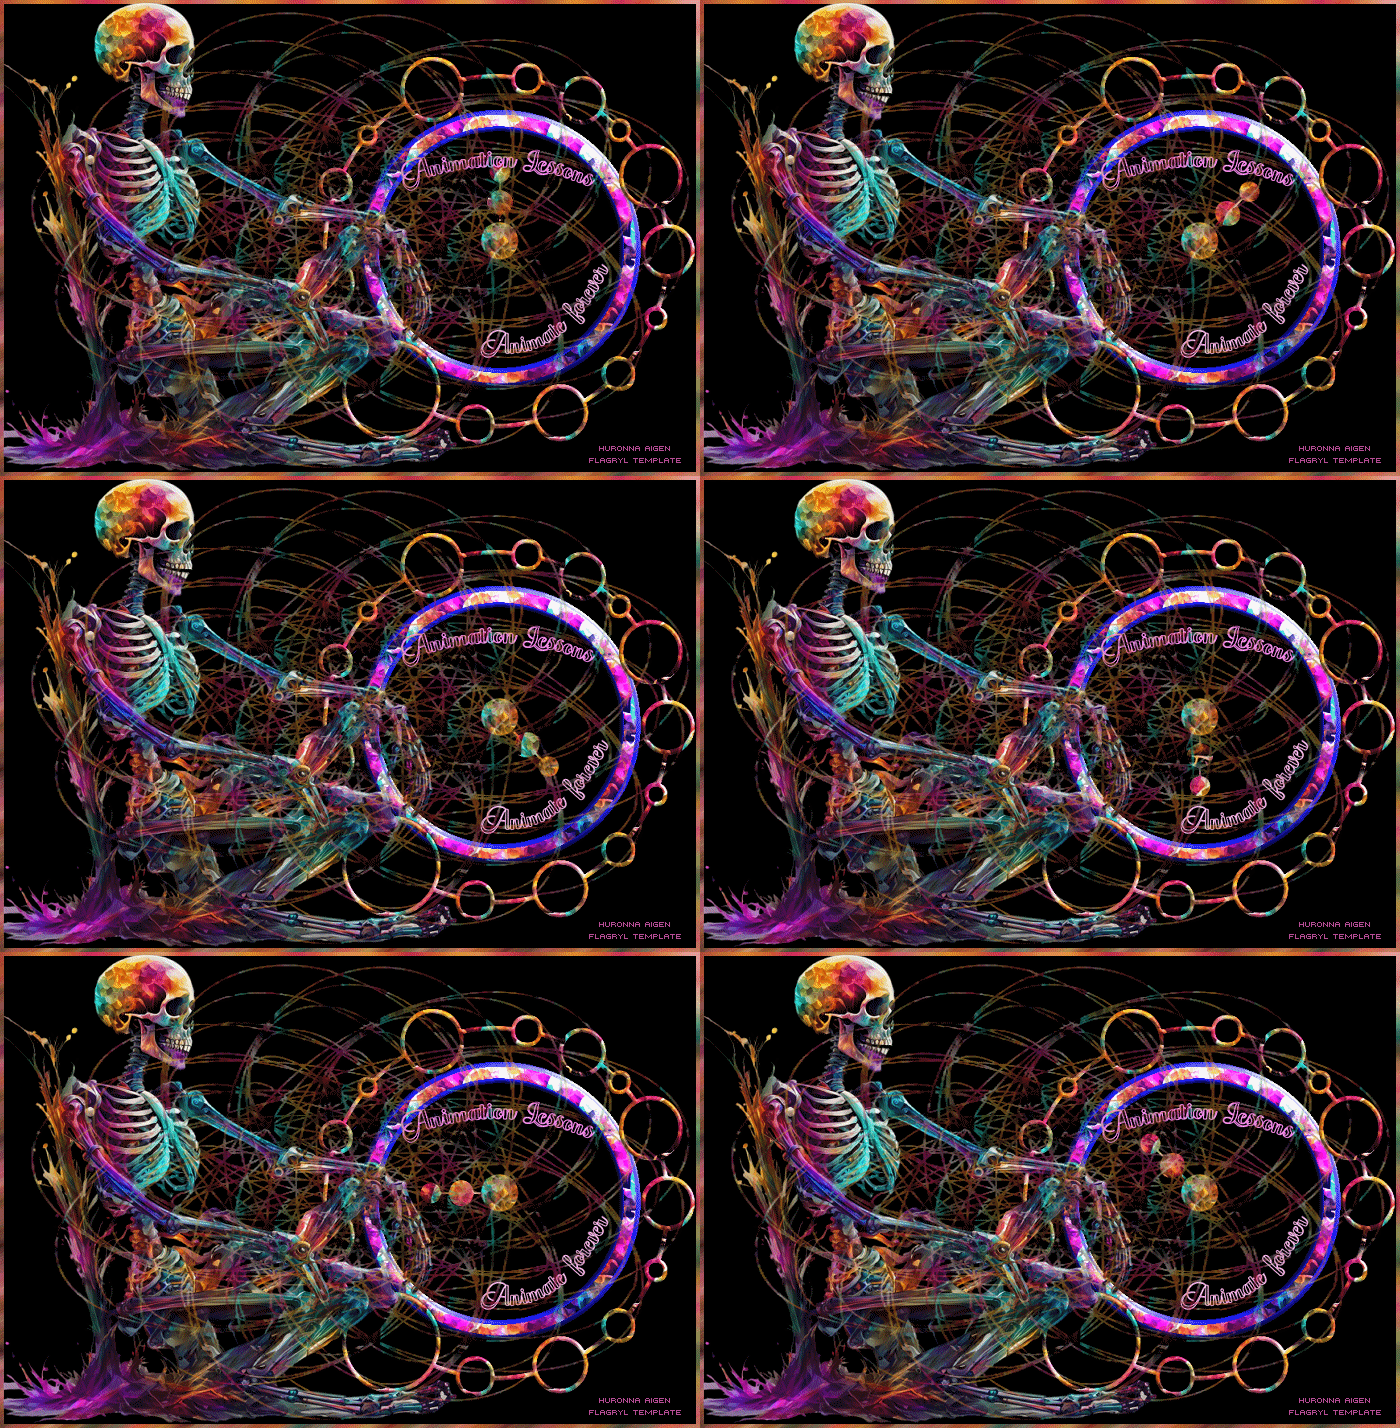
Again in PSP, I used Distortion, Wave on text "to animate", duplicated the layer for 4 layers then applied Alien Skin Constellation to each layer with random setting, saved it as a .psp file and opened in AS.
Select all [Ctrl a] and copy and paste after the last frame 3 times for 16 frames (4x4=16). Select All and go to your mng file, Select All and Paste into Selected Frame to layer it onto the tag and save the mng file. From there duplicate the image, Shift D, and run the Optimization Wizard and save as a .gif for your tag.
~ ~ ~ ~ ~ ~ ~ ~ ~ ~ ~ ~
REMINDERS:
To qualify for feathers EACH Tag submitted HAS TO BE MADE ORIGINAL FOR EACH CHALLENGE. You cannot use the SAME tag in other challenges HERE or at AD. If you do, no feathers will be awarded.
However, you can earn more feathers by submitting a challenge entry here or at AD as a WWO or as a SNAG.
WWO Feathers:
200 for offering a set/tag plus 50 feathers for each requested tag/set you make.
SNAG Feathers: 100 per Snag offering
Remember the rules! Snags cannot have just the word art, they must also have a prominent recognized/standard saying like Good Morning/Night, Checking In, Welcome to the Group/AL/AD, Happy "Whatever Holiday", etc.
For Non-Taggers: Requesting a WWO earns 50 feathers. Thanking the maker earns 100 feathers


